Bass: AI-SDA Generator
This project is a final project for InterSystems Sales Engineering Summer 2024 Internship. I was mostly working on the AI Prompt Engineering, UI Design and Documentation.
Project details
Creating and populating patient data in the Summary Data Architecture (SDA) format is a complex and time-consuming task, often taking over a week to complete manually. SDA, developed by InterSystems, is a comprehensive data model used within the Unified Care Record (UCR) to standardize and manage healthcare data, ensuring seamless integration and interoperability across different systems.
The AI-SDA Generator project significantly reduces the time needed to create and populate SDA patient records by leveraging AI technology. Using a user-friendly chat interface, users can interact with and edit the SDA data model using natural language. This project aims to provide efficient data interaction, accurate data transformation, seamless data integration, enhanced user experience, and secure data handling.
Github repo:
https://github.com/Wzelong/AI-SDA
Project Presenatation:
All About That Bass (ad):
Project Description
This project is a final project for the Sales Engineering Summer 2024 Internship at InterSystems. It utilizes AI technology to generate and populate demo SDA medical records. The User Interface is built using React framework and the database is Google Firebase. Data population is handled using AI (ChatGPT) and careful prompt engineering. The file storage and transformation is handled using InterSystems HealthShare. Users get to specify certain constraints (case, specification, encounters...) and use them to create demo patient medical records. This can be done manually or using the autogenerate feature which sends parallel API requests to the AI. The medical records are stored in the History tab, and can be edited or deleted.
Design Choices
User Interface:
The design of the user interface incorporates InterSystems' brand colors, ensuring a professional and cohesive look:
export const theme = {
  colors: {
    darkPrimary: '#333694',
    lightPrimary: '#EAEBFA',
    darkSecondary: '#00A39E',
    lightSecondary: '#BEE4E3',
    darkText: 'white',
    lightText: '#333694'
  }
}
The interface is designed for simplicity and usability, making it easy for users to fill out mandatory data fields efficiently. The chat interface allows for natural language interaction, making the system intuitive and user-friendly.
Forms:
We use Ant Design to create intuitive and user-friendly forms. AntDesign’s robust form components ensure all necessary information is easily accessible and editable. This contributes to a smooth user experience, allowing users to quickly input and modify patient data.
Tables:
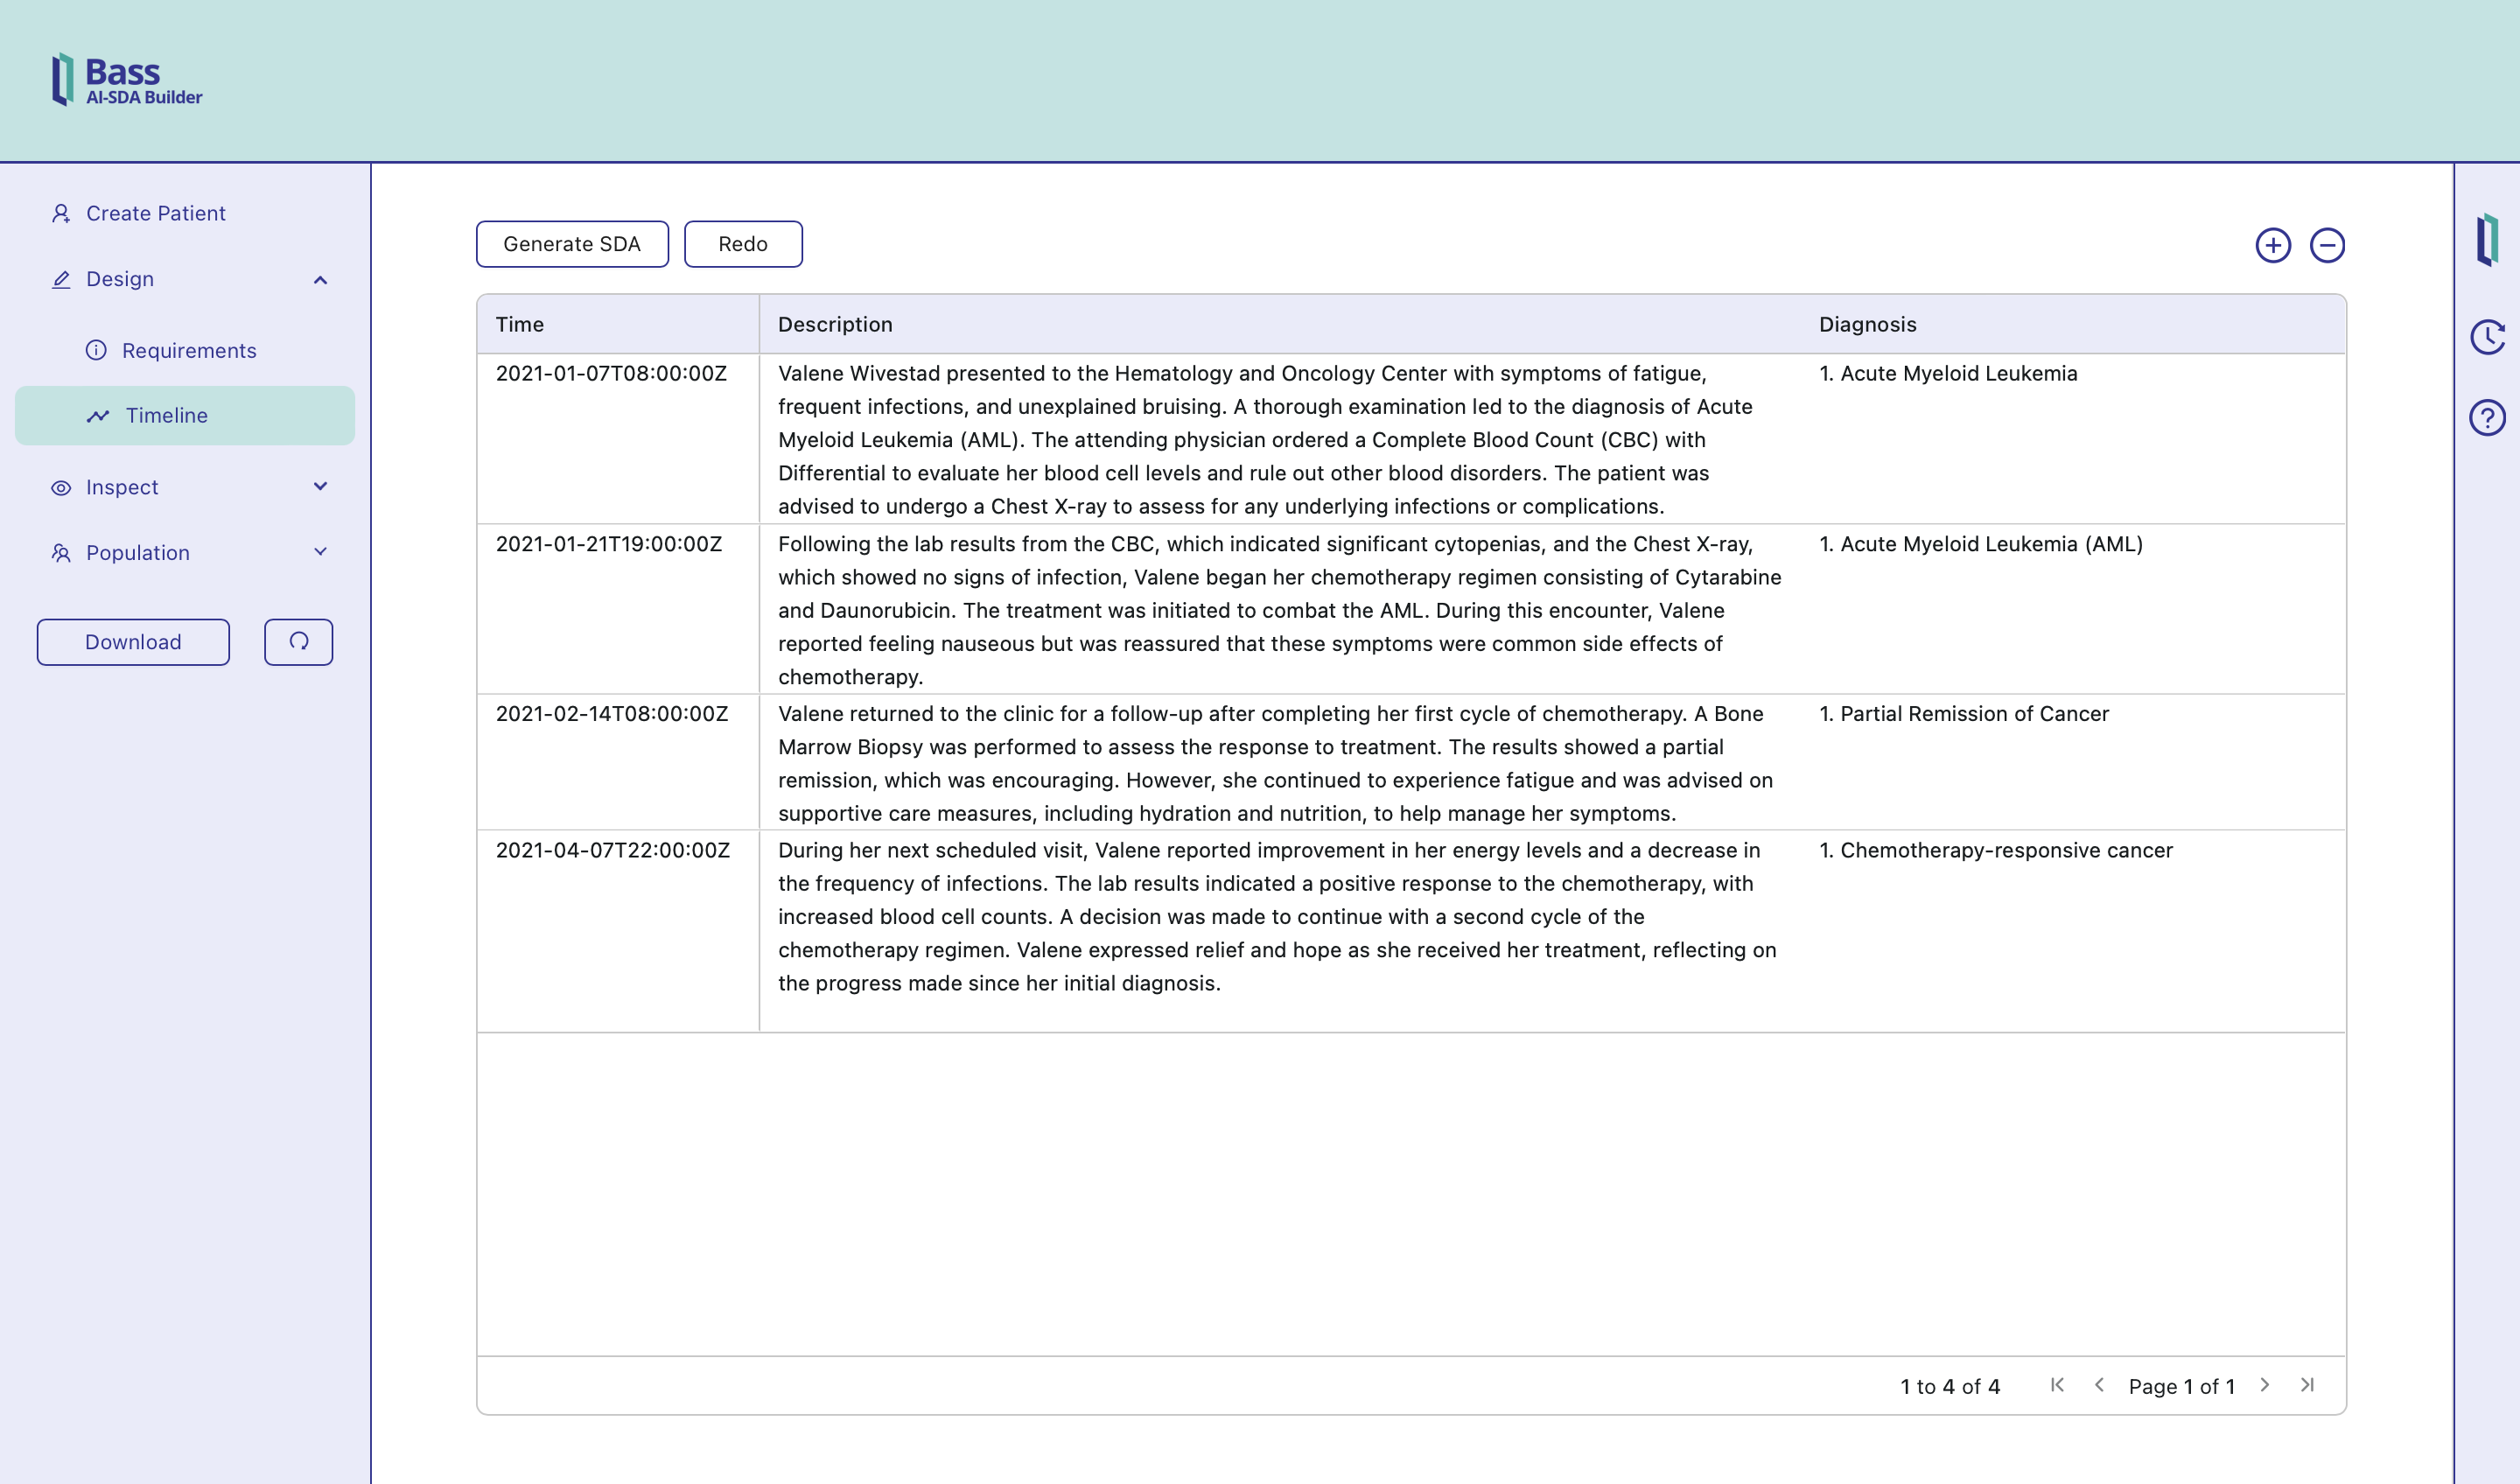
AG Grid is employed to create dynamic and responsive tables capable of handling large datasets efficiently. AG Grid's features, such as sorting, filtering, and grouping, provide users with a clear and organized view of patient data. This enhances data management and accessibility, allowing users to efficiently review and edit large amounts of information.
Parallel API Calls:
To optimize performance and efficiency, the system uses batched AI calls for parallel processing. This approach combines outputs from multiple API calls, significantly reducing the time required to generate complete patient records. The parallel processing capability ensures that the system can handle multiple requests simultaneously without compromising speed or accuracy.
Prompt Engineering:
Careful prompt engineering is a critical component of this project. Prompts are meticulously designed to ensure that the AI generates relevant and accurate data that fits seamlessly into the SDA model. This ensures that the generated data is of high quality and meets the specific requirements of the healthcare domain.
Population:
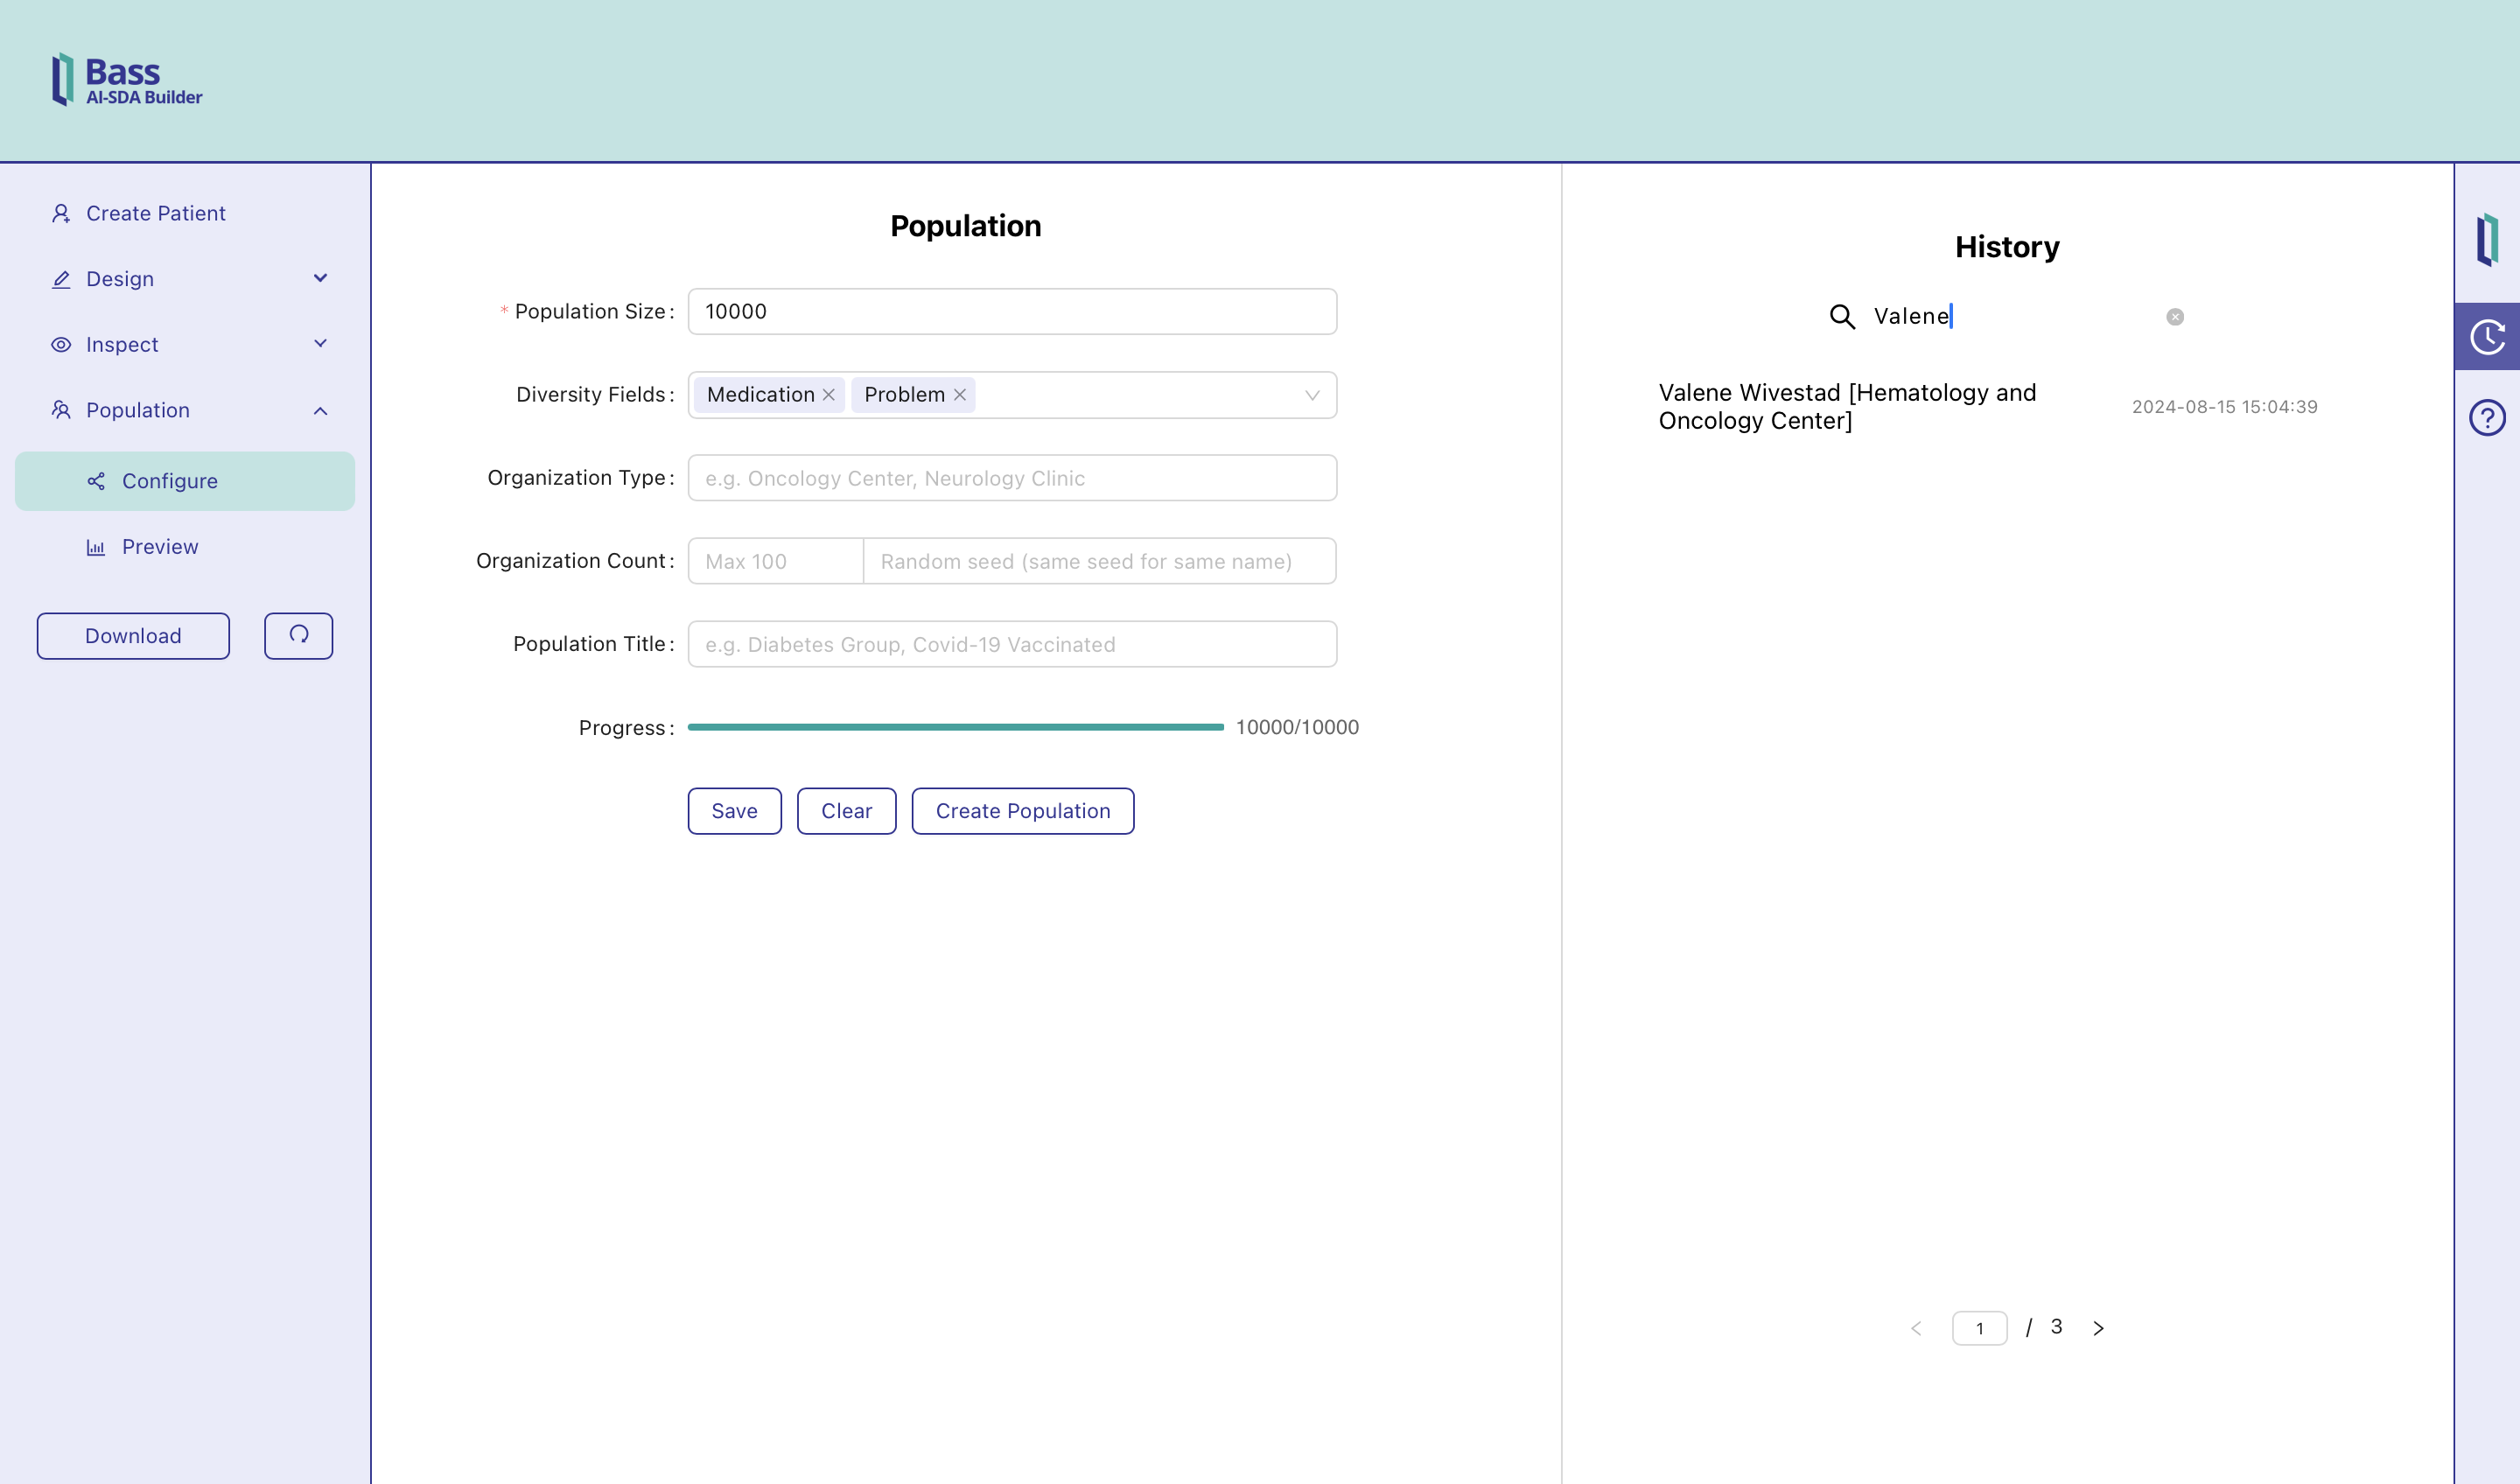
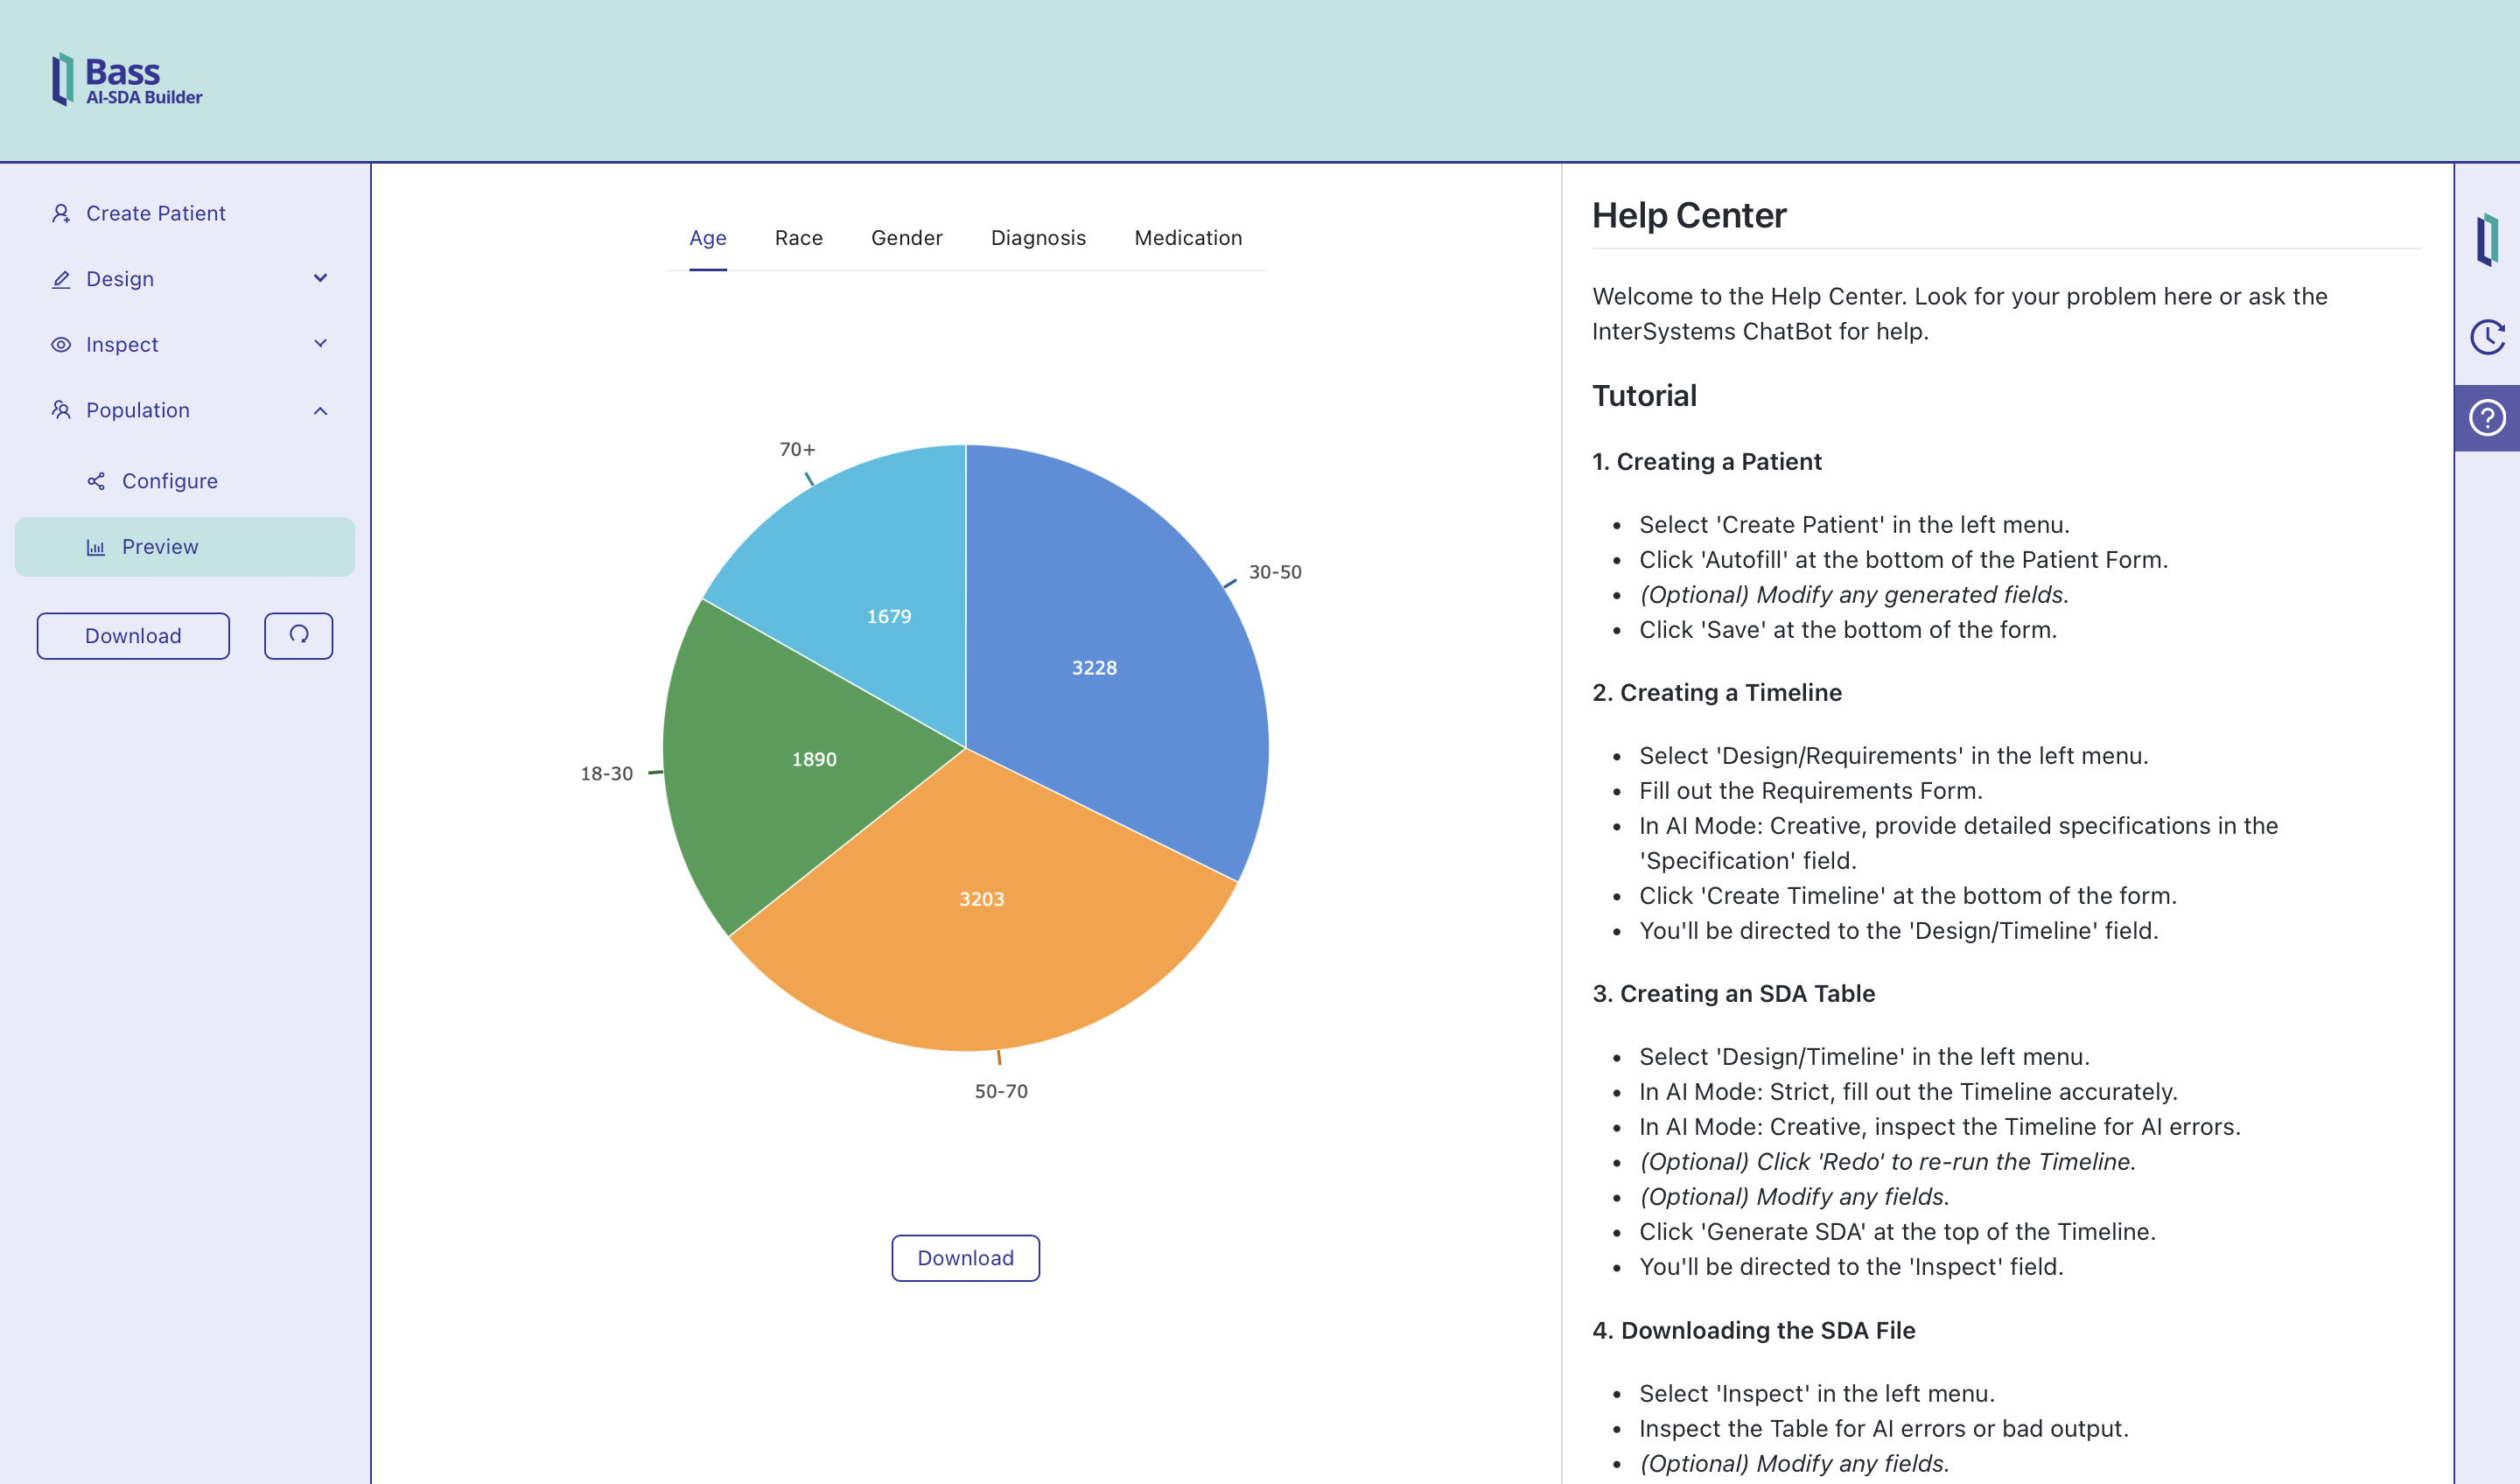
We decided to generate patient data using predefined medical cases and appending them randomly to a base case. This method allows us to create up to 10,000 unique patient records in under 10 seconds. Users can choose the level of diversification of the results compared to the base patient, ensuring a tailored and relevant dataset. The results are then displayed in pie charts for easier visualization, providing a clear overview of the generated patient data. This approach not only ensures quick data generation but also offers flexibility in data variety, enhancing the usability and applicability of the patient records.

Team members and contributions
Zelong Wang (wzelong): React Functionality, UI Design, Parallel API Calls
Gordan Milovac (gmilovac): AI Prompt Engineering, UI Design, Documentation
Time allocated: 400+ hours
Errors / bugs
This code is very AI dependent. Using careful prompt engineering and file validation, we made sure to minimize the margin of error... but it still exists. AI will sometimes "hallucinate". Generated data is meant to be inspected before the final submission.
Setup
Build and run your program:
-
Clone the repository to your local instance
-
Open 'config.js' file which can be found in 'AI-SDA/frontend/src' folder
-
Add your own API key to the 'apiKey' field
-
In terminal, 'cd' into your 'AI-SDA/frontend' folder
-
Run 'npm install'
-
Run 'npm start'
-
Copy the given link and paste it in your web browser
You can now use our React app!
Use different AI model:
-
Open 'config.js' file which can be found in 'AI-SDA/frontend/src' folder
-
Change the value of the 'model' field (eg. "gpt-4o")
-
Verify that 'config.js' file contains the API key
-
Save the changes and refresh the website
You can now use a different AI model!
Tutorial and Functionality
YouTube Tutorial: https://youtu.be/LDagH8bnXjE
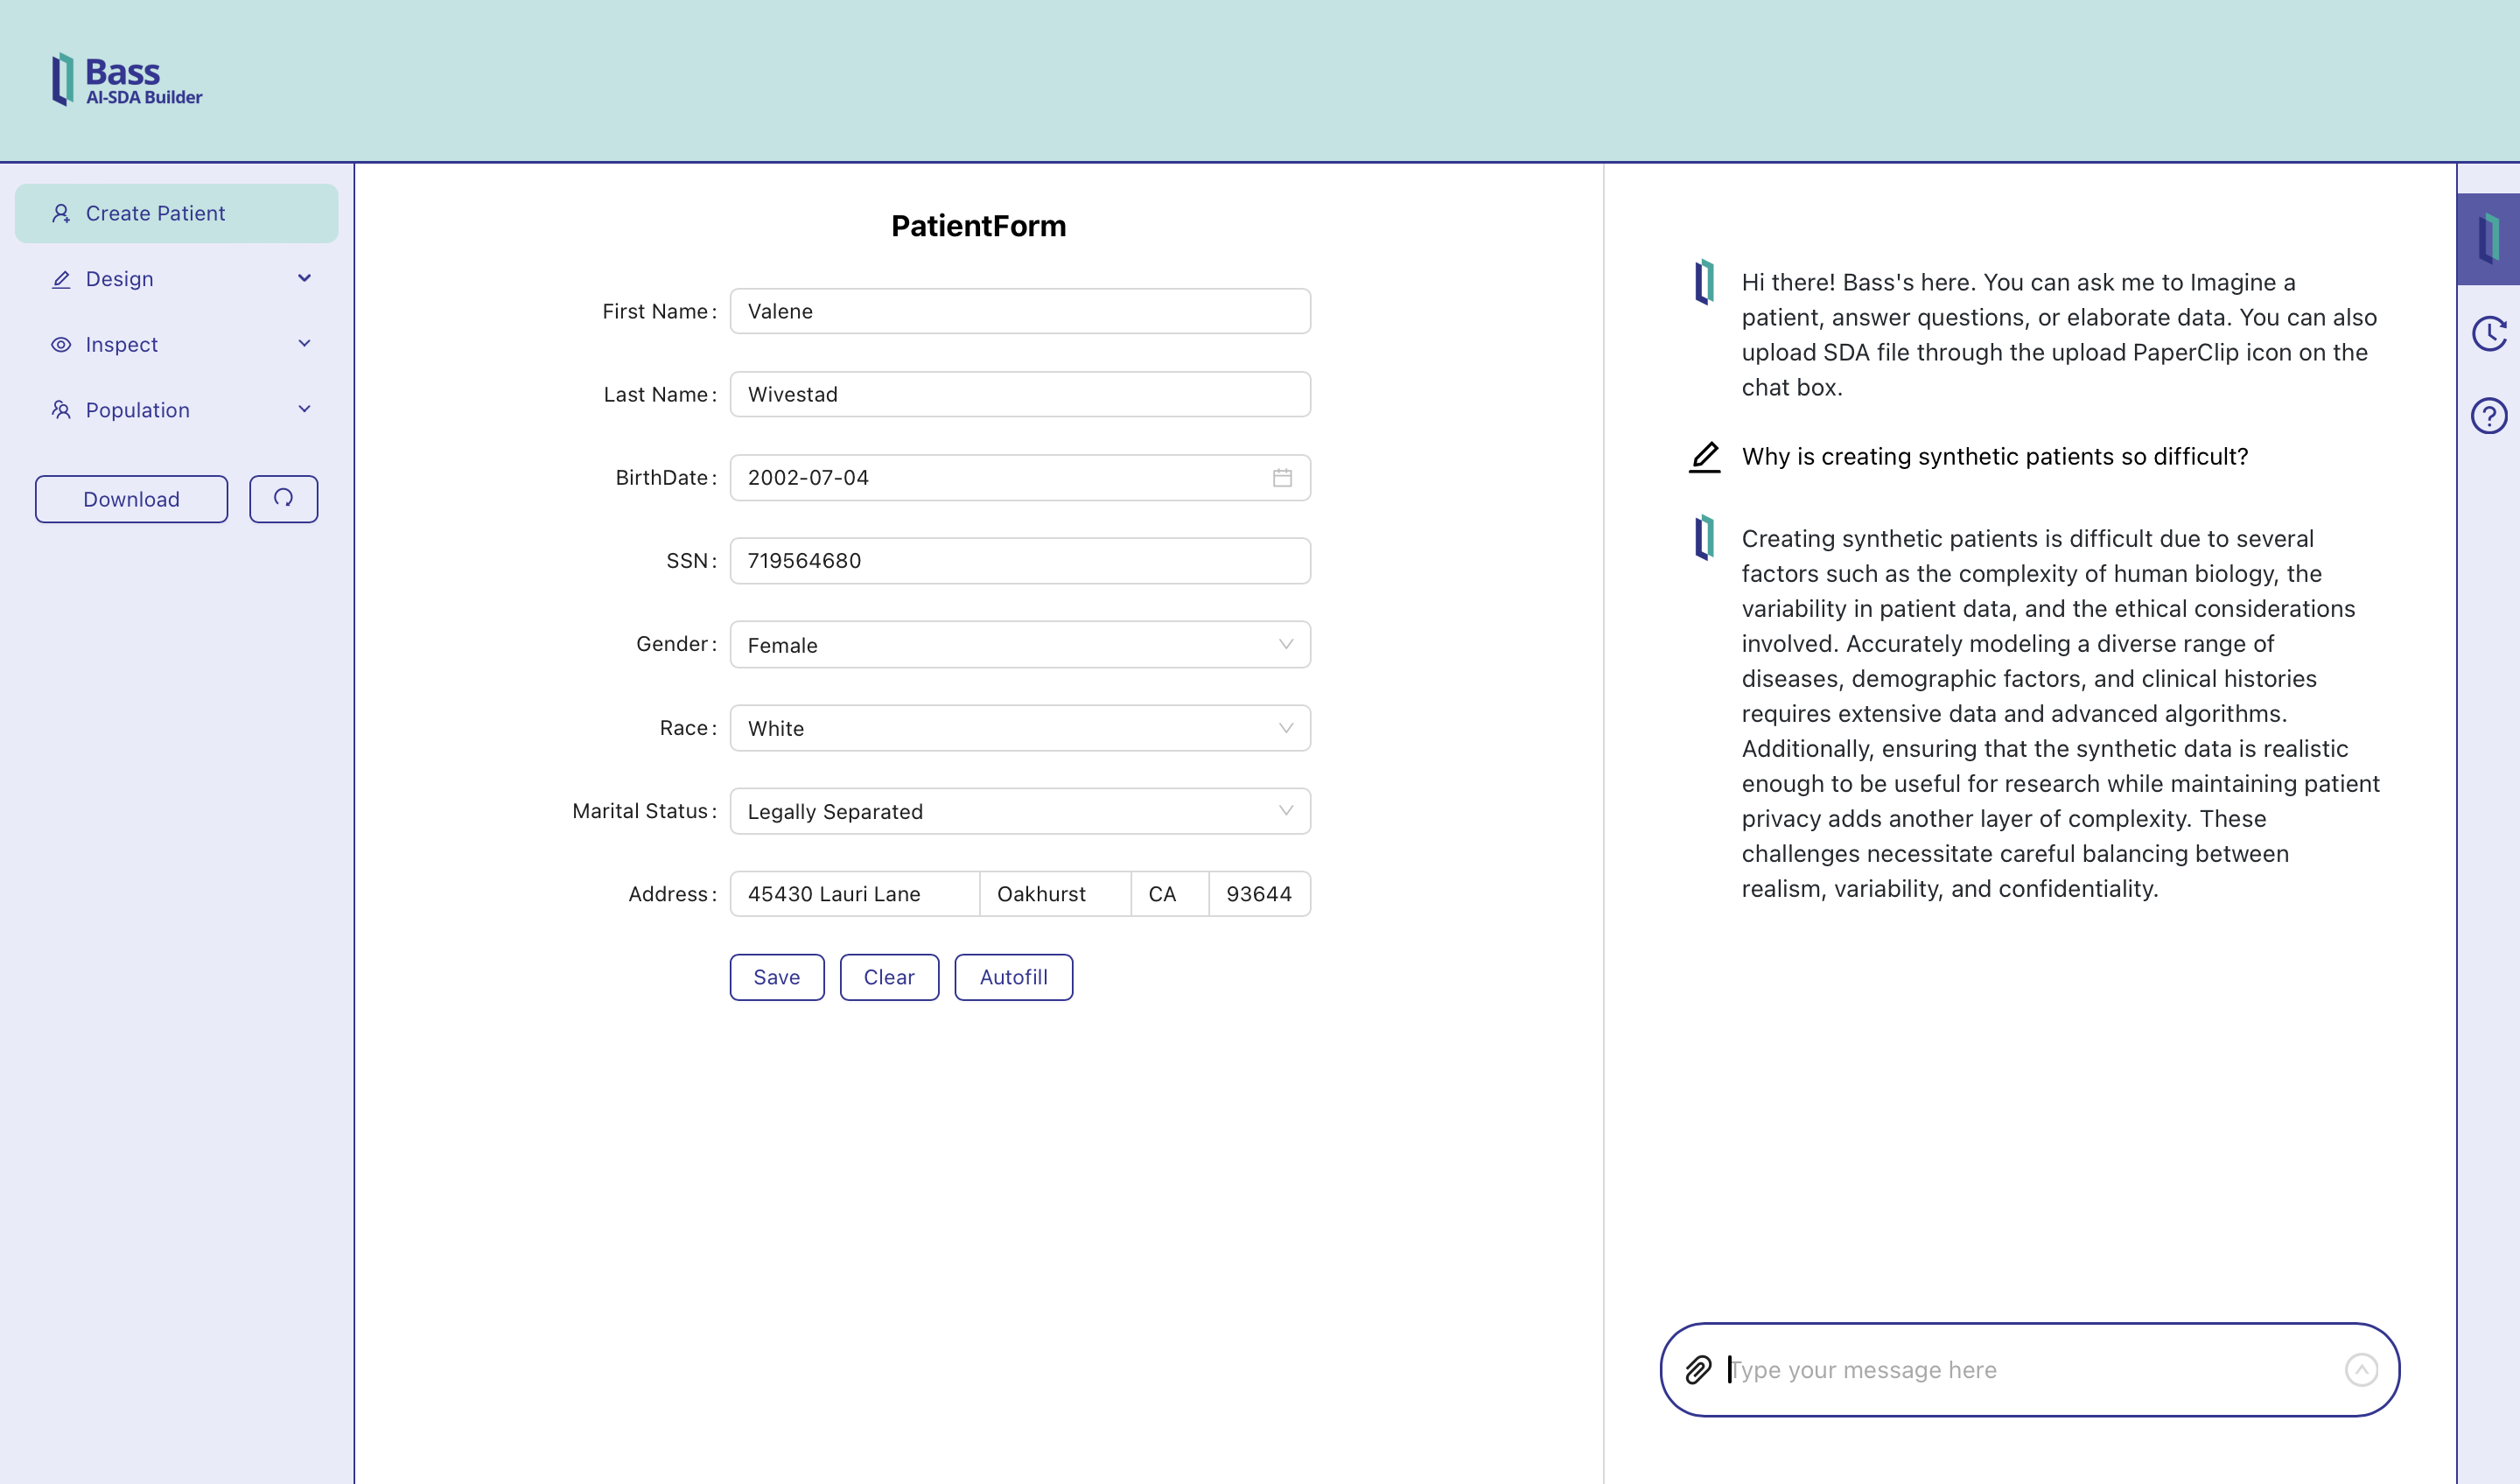
1. Creating a Patient:
-
In the left menu, click on the 'Create Patient' field
-
Click 'Autofill' at the bottom of the Patient Form
-
(Optional) Change any generated fields you wish to change
-
Click 'Save' at the bottom of the Patient Form
You now have your own Patient!
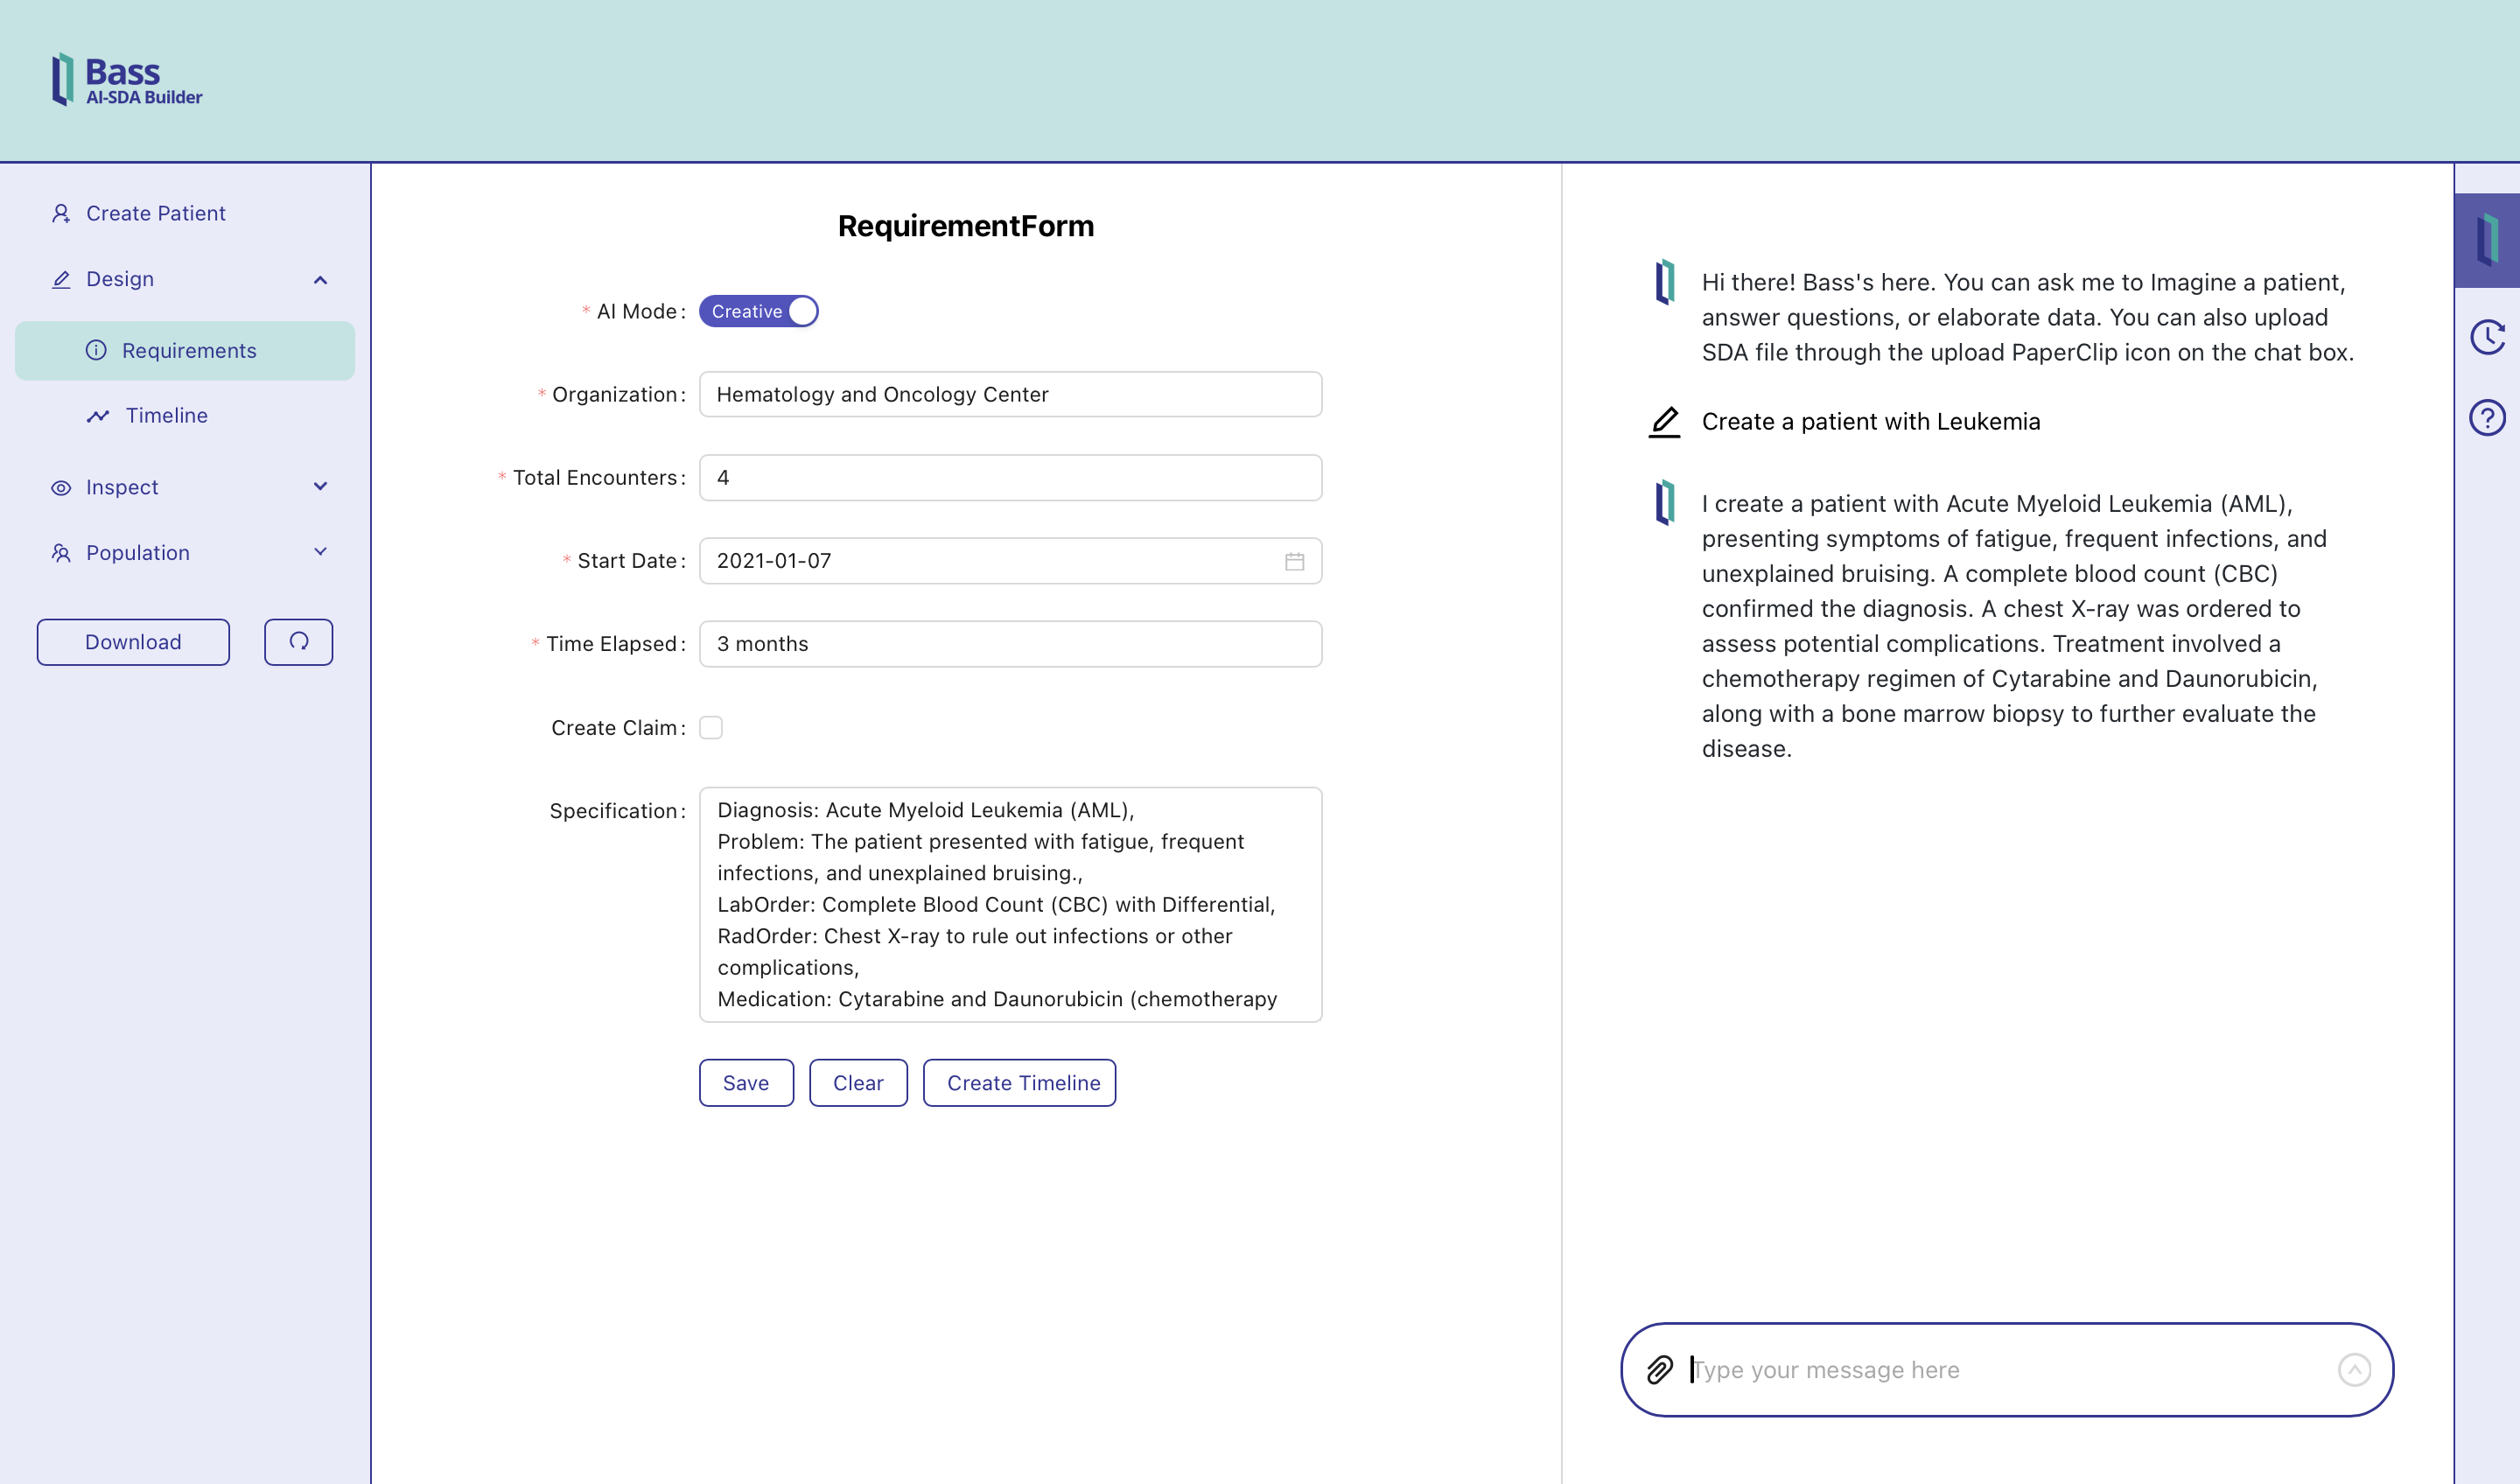
2. Creating a Timeline:
-
In the left menu, click on the 'Design/Requirements' field
-
Fill out the Requirements Form with your relevant data
-
(AI Mode: Creative) Fill out the 'Specification' field
-
(AI Mode: Creative) Include as much specific information as needed
-
Click 'Create Timeline' at the bottom of the Requirements Form
-
You will be taken to the 'Design/Timeline' field once it's created
You now have your own Timeline!
3. Creating an SDA Table:
-
In the left menu, click on the 'Design/Timeline' field
-
(AI Mode: Strict) Precisely fill out the Timeline
-
(AI Mode: Creative) Inspect your Timeline for any AI errors
-
(Optional) Click 'Redo' at the top of the Timeline to re-run it
-
(Optional) Change any fields you wish to change
-
Click 'Generate SDA' at the top of the Timeline
-
You will be taken to the 'Inspect' field once it's created
You now have your own SDA Table!
4. Creating an XML SDA File:
-
In the left menu, click on the 'Inspect' field
-
Carefully inspect your Table for any AI errors or bad output
-
(Optional) Change any AI generated fields you wish to change
-
Click 'Download' at the bottom of the left menu
-
(Optional) Click three dots to upload and delete the file in CV
You now have your own XML SDA file!
5. (Optional) Creating Population:
-
In the left menu, click on the 'Population/Configure' field
-
Carefully fill in your Population requirements
-
Select all the fields you wish to diversify
-
Click 'Create Population' at the bottom of the Population Form
-
In the left menu, click on the 'Population/Preview' field
-
Preview the pie charts of your diversified Population
-
Click 'Download' at the bottom of the Population Form
You now have your diversified Population!
6. (Optional) Redo:
-
Click the 'Redo' arrow at the bottom of the left menu
-
This will clear out all the data other than the Patient Form
-
Follow steps 2.-5. and generate another file for the same patient
You just generated another Patient/Population!
Extra
Chatbot:
We built a bot that can assist you in the patient creation process!
-
In the right menu, click on the 'InterSystems' symbol
-
Ask our Chatbot any question you might have
-
To close the tab, click again on the 'InterSystems' symbol
You can now use the InterSystems chatbot!
Tips with the Chatbot:
-
Clicking on the paperclip icon allows you to import an already existing XML SDA file
-
If you say "Take me to" and then specify the form, it will take you to that form
-
If you say "Imagine a patient" or "Create a case" and give further instructions, it will create a medical case for you and auto-populate the 'Design/Requirements' Form
-
If you say "How to" and then specify the step you are struggling with or don't understand, it will search the documentations and give you an answer
-
If you ask any medical or technical question if will use the selected AI model to answer
-
(EE) If you ask "Who created this app" it will respond and give you a quick info about the creators
History: Your generated patients will be stored in the history tab. View them, edit them or delete them as you wish!
-
In the right menu, click on the 'History' symbol
-
Search for the patient file you wish to see
-
(Optional) Make updates to the patient file
-
(Optional) Delete the patient file
-
If changes were made, click 'Download' at the bottom of the left menu
-
To close the tab, click again on the 'History' symbol
You can now view and update old SDA files!
© Gordan Milovac.Resume PDF